
 Mainframe Tutorial
 JCL Tutorial
 Introduction
 Mainframe Interview Q&A
 Mainframe Quiz
 Mainframe Memes
 Contact us
 About us
Module 1: ISPF Introduction
 Backward

ISPF- Introduction and Panels
ISPF is the screen you will live in for most of your mainframe work. It stands for Interactive System Productivity Facility and it gives you a menu-driven, full-screen interface to almost everything TSO can do: editing programs, managing datasets, submitting jobs and reading job output.
What is ISPF
- ISPF is a set of full-screen panels (menus) that sit on top of TSO.
- You start it from the TSO READY prompt by typing ISPF and pressing Enter.
- Everything is driven by an Option ===> (or Command ===>) input line: type the number or letter of the option you want and press Enter.
- To end ISPF, type X on the primary option menu. You are then asked what to do with your log and list datasets (usually D for delete).
- Almost every panel has on-line help: press PF1 anywhere.
The ISPF primary option menu
The first screen you see is the ISPF Primary Option Menu. A typical one looks like this:
--------------------------- ISPF Primary Option Menu ---------------------------
Option ===>
0 Settings Terminal and user parameters
1 View Display source data or listings
2 Edit Create or change source data
3 Utilities Perform utility functions
4 Foreground Interactive language processing
5 Batch Submit job for language processing
6 Command Enter TSO or workstation commands
7 Dialog Test Perform dialog testing
9 IBM Products IBM program development products
S SDSF System Display and Search Facility
T Tutorial Display information about ISPF
X Exit Terminate ISPF using log/list defaults
Enter X to terminate using log/list defaults
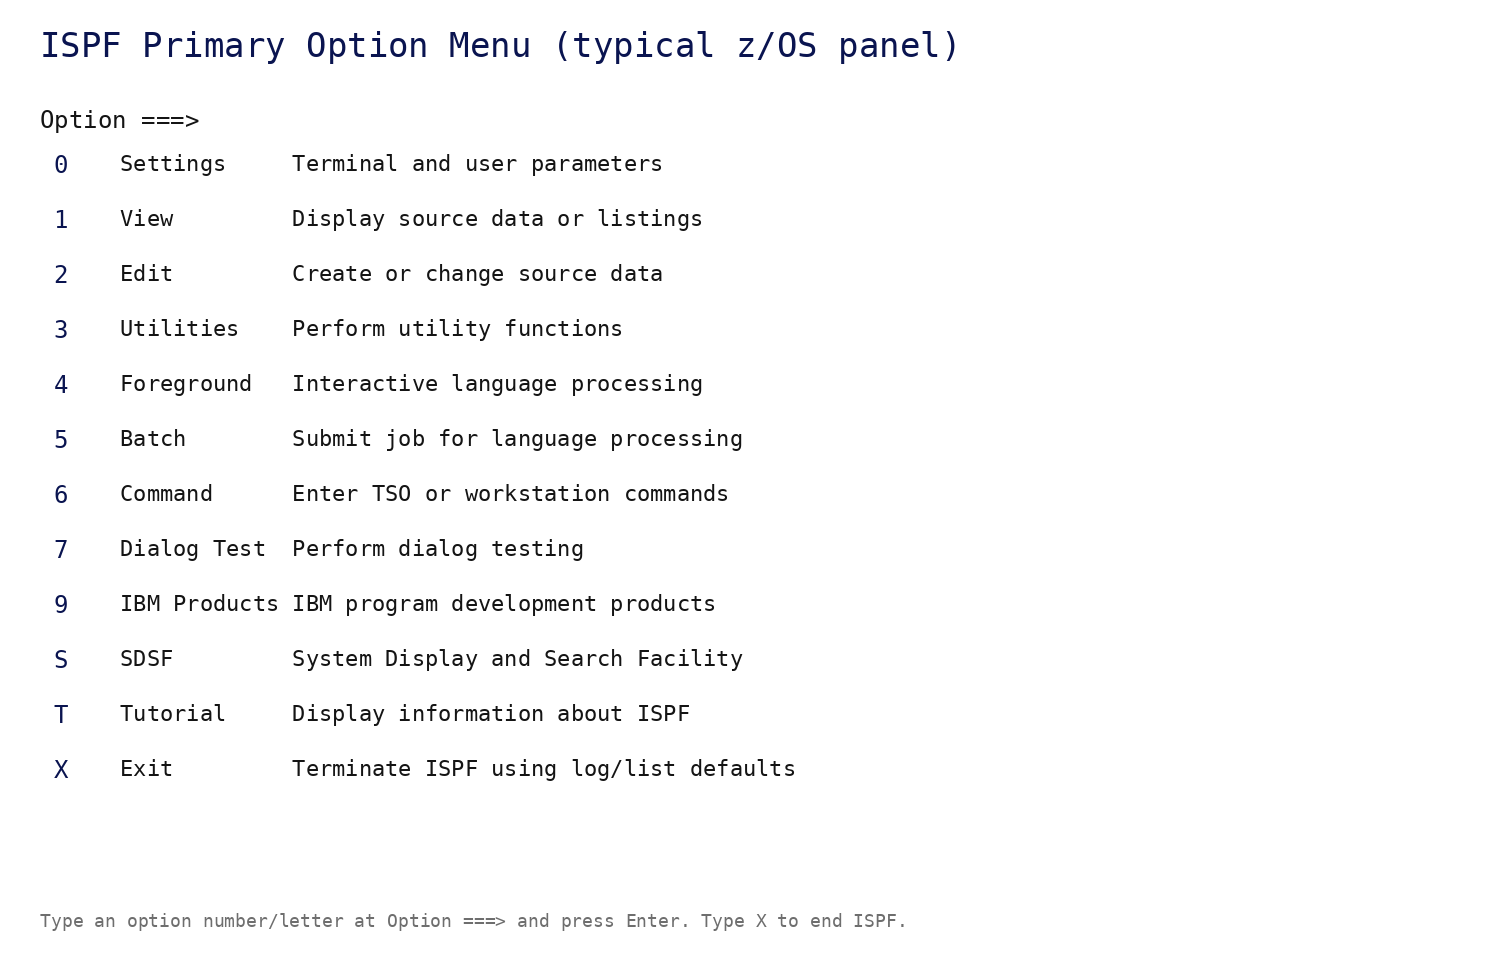
- Your site may show extra options (U for user utilities, I for internet tools) and may number options differently.
- The options you will use daily are 2 Edit, 3 Utilities, 6 Command and S SDSF.
- The top of the screen shows your userid, the date and your terminal type.
Navigating panels
- Move the cursor with the Tab key to jump between input fields, or use the arrow keys.
- Type your choice on the Option ===> line and press Enter to go deeper.
- Press PF3 (End) to go back one level. Keep pressing PF3 until you reach the primary option menu.
- Press PF1 on any panel to see help for that exact panel.
- Type PFSHOW on any command line to display what your PF keys are set to.
- The jump function lets you go straight to a panel: type =3.4 on any Option ===> line to jump directly to the dataset list utility (covered in Module 5).
Function keys (PF keys)
The standard PF key settings are listed below. You can change them in option 0, so always check PFSHOW on a new system.
- PF1 - Help. Shows help for the current panel.
- PF2 - Split. Splits the screen into two independent ISPF sessions.
- PF3 - End. Saves (in edit) and goes back one panel level.
- PF4 - Return. Jumps straight back to the primary option menu.
- PF5 - Rfind. Repeats the last FIND command.
- PF6 - Rchange. Repeats the last CHANGE command.
- PF7 - Up. Scrolls one page up. PF8 - Down. Scrolls one page down.
- PF9 - Swap. Switches between the two halves of a split screen.
- PF10 - Left. Scrolls left. PF11 - Right. Scrolls right.
- PF12 - Retrieve. Brings back the last command you typed on the command line.
Changing your settings (option 0)
- Option 0 opens the ISPF Settings panel: terminal characteristics, PF key definitions, screen display and log/list defaults.
- Common first-time changes: set your terminal type (3278), turn on the command line position you like, and set function key display.
- If function keys behave strangely in your emulator, check the keyboard mapping in option 0 before anything else.